
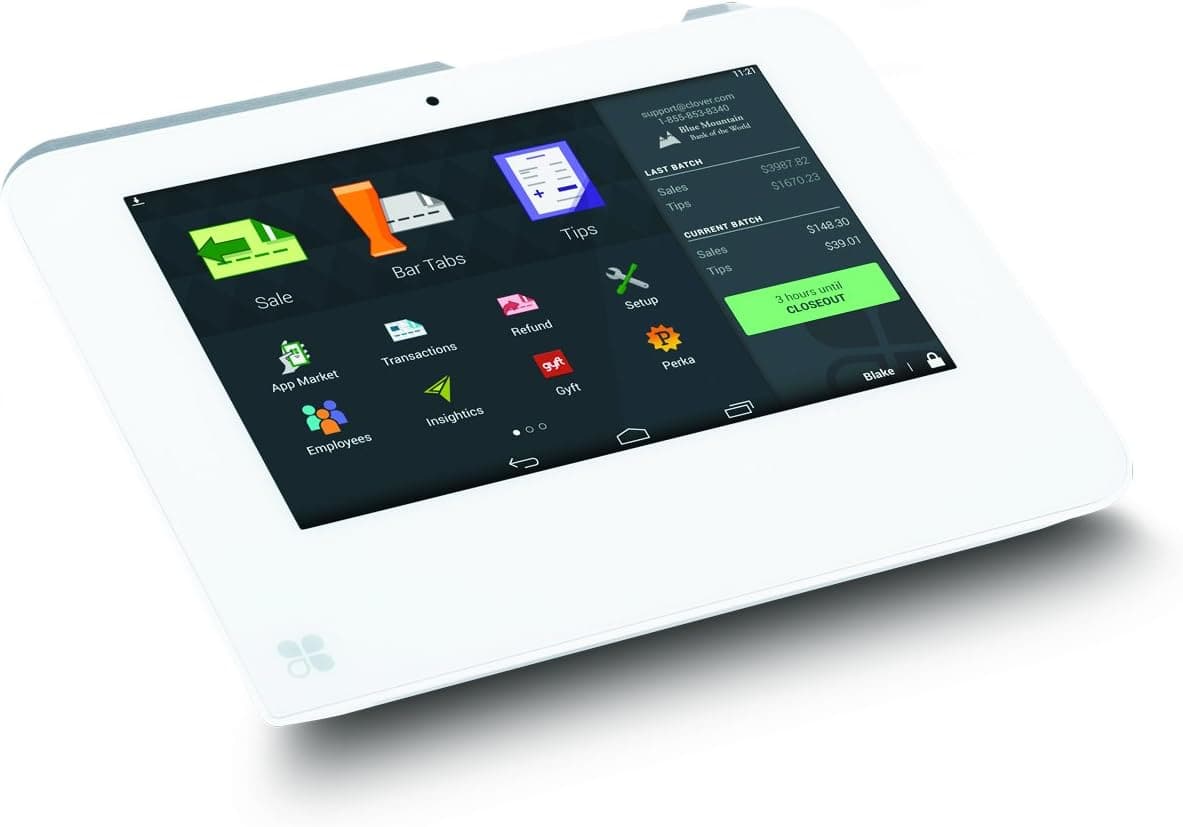
The Clover Mini packs a full point-of-sale system into a compact countertop terminal — chip, tap, and swipe payments, receipts, inventory, and reporting in one device. The good news is that setting one up is genuinely straightforward, and you can do it yourself without a technician. Follow the numbered steps below in order and your Mini will be ringing up sales before you know it. If you get stuck at any point, our local team in Puerto Rico is one call away.
1.Unbox and connect the hardware
- Start your Clover Mini setup by unboxing the device, the swivel base or stand, the power hub, and the power cable. Seat the Mini firmly onto the base until it clicks, then run the cable from the power hub into the port on the base — not directly into the device.
- If you use a receipt printer, cash drawer, or barcode scanner, connect those peripherals to the hub now so they are recognized the first time the Mini powers on.
2.Power on and join Wi-Fi
- Plug the power hub into a grounded outlet and press the power button on the side of the Mini. The device boots to a welcome screen in about a minute.
- When prompted, choose your language and connect to the internet. Tap Wi-Fi, select your network, enter the password, and wait for the checkmark. A wired Ethernet connection through the hub is the most reliable option for a busy counter, while a cellular data plan can serve as backup.
3.Activate your Clover Mini
- Every Clover Mini ships locked to a merchant account. Enter the activation code emailed to you when your account was created — the same address you gave Caribbean Payments during onboarding.
- The Mini downloads its latest software and syncs your business profile. This first update can take several minutes, so leave the device plugged in and connected until it lands on the home screen.
4.Configure taxes and tips
- Open the Setup app from the home screen to set your Puerto Rico sales tax rate so it is applied automatically at checkout. You can set a single default rate or create multiple rates for different product categories.
- If you accept gratuity, enable tipping under the Tips section, choose suggested percentages, and decide whether to prompt on the customer-facing screen. Restaurants and service businesses usually turn this on; retail shops often leave it off.
5.Run a test sale
- Before your first customer, open the Sale app and ring up a small amount using a real card you can refund. Insert a chip card, tap a contactless card or phone, and confirm the transaction approves and a receipt prints or emails.
- Void or refund the test charge from the Transactions app. A clean test sale confirms your Clover Mini setup is complete and your merchant account is live.
6.Troubleshooting common issues
- If the Mini will not power on, confirm the cable runs through the hub and base rather than into the device directly. If Wi-Fi drops, forget the network and rejoin, or switch to Ethernet. If activation fails, double-check the code and that the date and time are correct.
- When a card is declined repeatedly, try a different card to rule out an issuer problem before assuming a device fault. For anything you cannot clear, our local Puerto Rico team is a phone call away.
Want the full hardware and pricing details before you buy? See our Clover Mini overview or browse every device on our payment solutions page.