
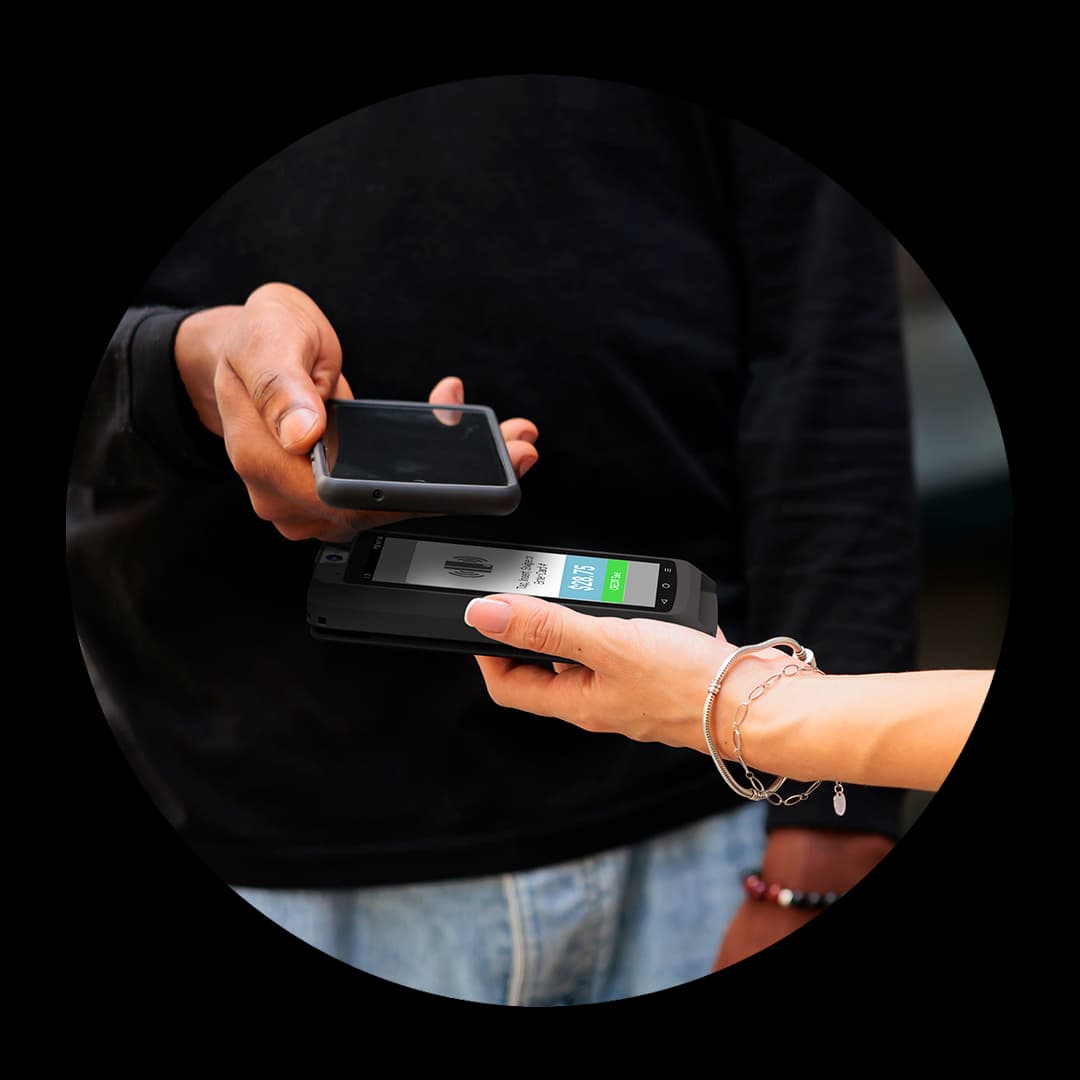
The Dejavoo QD3 is an Android mobile POS (mPOS) handheld with a bright touchscreen, a built-in receipt printer, and Wi-Fi or 4G connectivity — so it accepts EMV chip, contactless tap, magstripe swipe, and mobile wallets wherever you do business. This Dejavoo QD3 quick start walks you through the whole flow, from the first charge to closing your batch at the end of the day.
Before you begin, have three things ready: your Wi-Fi network name and password (or an activated 4G SIM), your merchant terminal ID (TID), and a roll of thermal receipt paper. With those on hand, work through the eight steps below in order and your QD3 will be live and ready for customers.
1Charge the battery and power on
- Begin your Dejavoo QD3 quick start by charging the handheld. Connect the USB-C cable to the QD3 and a wall adapter, and let the battery reach a full charge before your first shift — a mobile POS that dies mid-sale is no help at the counter or curbside.
- Press and hold the power button on the side until the Dejavoo logo appears on the touchscreen. Let the Android mPOS fully boot to the home screen. If the screen stays dark, the battery was shipped low, so leave it on the charger for a few minutes and try again.
2Connect to Wi-Fi or 4G
- The QD3 is a wireless handheld, so it needs either Wi-Fi or a 4G data connection to reach the payment host. For Wi-Fi, open the settings menu, tap your network name, and type the password exactly — it is case-sensitive. Wait for the signal icon to confirm the terminal is online.
- If you move around your store or work off-site, a 4G SIM keeps the QD3 connected without a router. Insert the SIM, confirm the mobile-data icon appears, and you are ready. A steady connection is the foundation of the whole setup, so verify it before continuing.
3Activate and download your profile
- With the QD3 online, download its profile — the parameters that link the device to your merchant account and processor. Open the setup or download menu and start the profile download. The handheld contacts the host, pulls your configuration, and reboots.
- After it restarts, the QD3 is activated and ready to accept live cards, taps, and mobile wallets. If the download stalls, re-check your connection and your terminal ID (TID). Our Puerto Rico team can push your profile remotely if you get stuck at this stage.
4Load receipt paper
- The QD3 has a built-in thermal printer, so no separate printer is needed. Open the printer bay latch on the top of the handheld and drop in a roll of thermal paper so it feeds from the bottom of the roll, with a short tail pulled past the cutter.
- Close the bay until it clicks and tear off the excess. If a test print comes out blank, the roll is likely upside down — thermal paper only prints on one side, so flip the roll and try again.
5Run a test sale
- Before your first real customer, run a small test sale to confirm everything works end to end. Ring up a low amount, then insert an EMV chip card, tap a contactless card or phone wallet, and swipe a magstripe card to verify all read methods are working.
- Void or refund the test right away so it does not settle. Confirm the receipt prints cleanly from the built-in printer and the totals look correct. A successful test sale is the final checkpoint that your QD3 quick start is complete.
6Reprint a receipt
- Customers sometimes ask for a duplicate receipt after the sale. On the QD3, open the transactions or history menu, find the sale by amount or last four digits, and choose the reprint option. The built-in printer produces an exact copy.
- You can also reprint the very last transaction with a single tap from the receipt menu — handy when the paper jams or the original tears at the cutter.
7Settle and close your batch
- At the end of each day, settle your batch so the day's approved sales are sent for funding. Open the settlement or batch menu and choose close batch. The QD3 totals the day's transactions, sends them to the host, and prints a settlement report.
- Settling daily keeps your deposits on schedule and your records clean. Many QD3 units can be set to auto-settle at a fixed time each night — ask our team to enable it if you would rather not remember to close the batch by hand.
8Troubleshooting common issues
- If the QD3 will not connect, restart your router or re-seat the SIM, and re-enter the Wi-Fi password watching for a wrong character. A failed profile download usually points to a weak signal or a mistyped TID — move closer to the router and try again.
- Declined test cards typically mean activation has not finished, so re-run the profile download. For blank prints, reseat the paper so it feeds from the bottom. If anything still looks off, reach out — local support means a real person who knows Puerto Rico merchants.
Want the full specs and pricing before you set up? See the Dejavoo QD3 product page, or browse Dejavoo support and manuals for more help with your Puerto Rico business.