
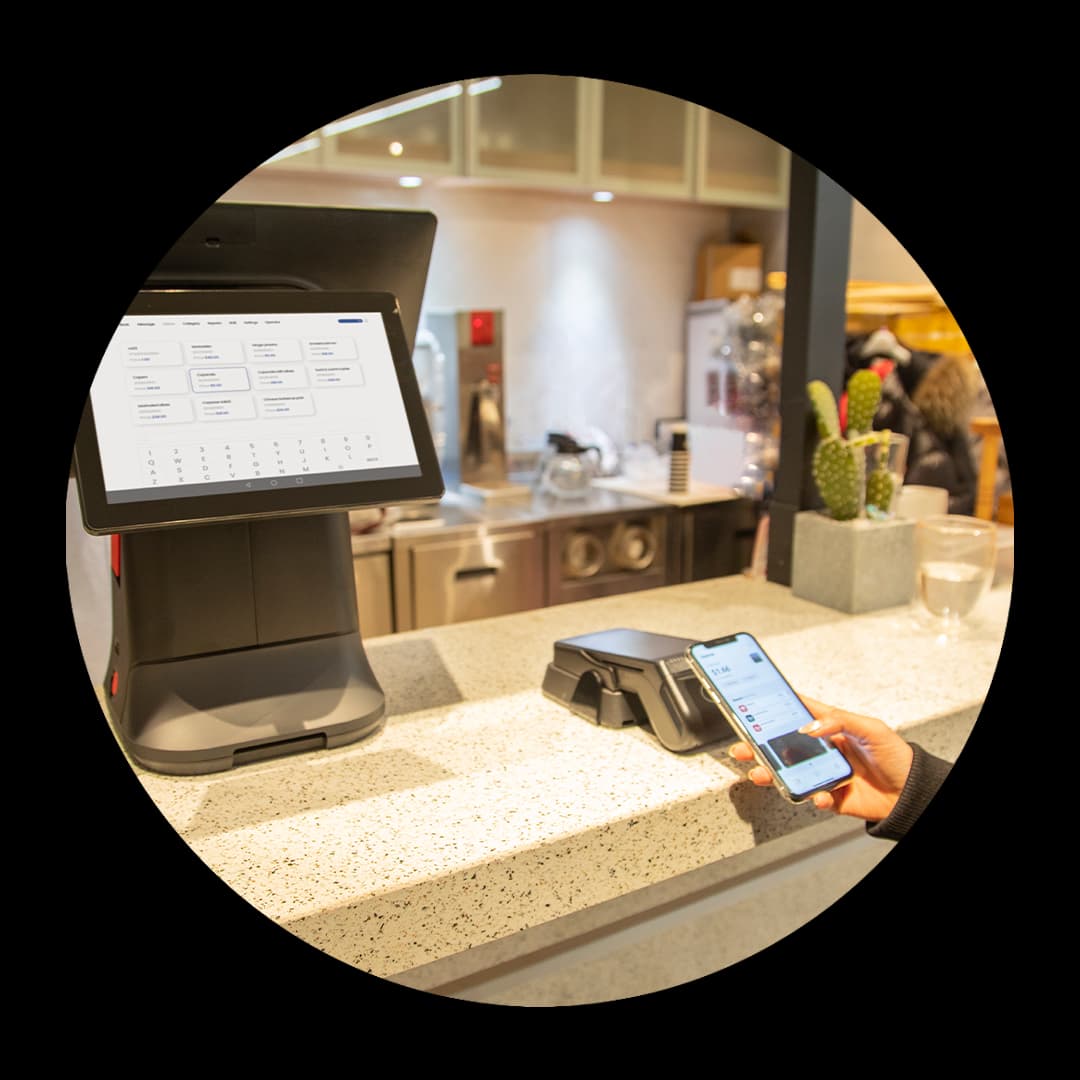
The Dejavoo QD5 is an Android customer-facing companion PIN pad — a compact touchscreen that pairs with your point-of-sale system or electronic cash register to handle secure card reads and encrypted PIN entry. It accepts EMV chip, contactless tap, and swipe, so every way your customers pay is covered. This quick start walks you through the whole QD5 setup, from first power-on to your first successful test sale.
Before you begin, have three things ready: the interface cable that matches your setup (Ethernet or USB), access to your POS or ECR payment settings, and a test card you can safely run and void. With those on hand, work through the six steps below in order and the QD5 will be paired and ready for customers.
1Connect power to the QD5
- Begin your Dejavoo QD5 setup by unboxing the PIN pad and confirming the parts: the QD5 unit, the USB-C or barrel power adapter, and the interface cable (Ethernet or USB) used to link it to your point of sale. Inspect the touchscreen and card slots for any shipping damage before powering on.
- Plug the power adapter into the QD5 and a wall outlet, then hold the power button until the Dejavoo logo appears. Because the QD5 is a customer-facing companion PIN pad rather than a standalone terminal, let it boot fully to its idle screen — it will wait there until it detects a connection to your POS or ECR.
2Connect the QD5 to your POS or ECR
- The QD5 is a companion device, so it needs a host to drive it. Connect it to your point-of-sale system or electronic cash register (ECR) using the interface your setup calls for: run an Ethernet cable from the QD5 to the same network switch as your POS for an IP connection, or use the USB cable for a direct wired link to the register.
- For an Ethernet connection, the QD5 will pull an IP address automatically — note it from the network or status menu, since your POS software needs that address to send transactions to the PIN pad. For USB, confirm the register recognizes the device. A stable host link is the foundation of the entire QD5 quick start.
3Pair and configure the PIN pad
- With power and a host link in place, pair the QD5 to your POS. In your point-of-sale payment settings, add a new PIN pad or card reader and enter the QD5's IP address (for Ethernet) or select it from the detected USB devices. Save the connection and let the POS handshake with the terminal.
- On the QD5 itself, open the settings menu to confirm your merchant parameters loaded — the config that ties the PIN pad to your merchant account and processor. Set the display language, brightness, and idle screen if desired. Once the POS reports the QD5 as connected and parameters are present, the device is ready to take payments.
4Run a test payment with PIN entry
- Before your first real customer, ring up a small test sale on your POS and send it to the QD5. The PIN pad wakes and prompts the customer to present a card. Insert a chip card into the EMV slot and follow the on-screen prompts through to the encrypted PIN entry screen.
- Enter a PIN on the touchscreen to confirm the secure keypad works — the QD5 encrypts the PIN inside the device, so the number is never exposed to your POS. Approve the sale, then void or refund the test right away so it does not settle. A clean approval confirms your QD5 quick start is working end to end.
5Test a contactless tap
- The QD5 accepts chip, tap, and swipe, so verify contactless next. Start another small test sale from your POS, then tap a contactless card, phone wallet, or smartwatch against the top of the QD5 screen where the contactless symbol appears.
- Watch for the four confirmation lights or the on-screen check that signals a successful read, then approve and void the test. Confirming tap alongside chip and PIN entry means every way your customers pay has been checked before you open for business.
6Reprint receipts and troubleshoot
- The QD5 has no built-in printer — receipts print from your POS or register, so reprint a copy from your point-of-sale receipt or transaction history menu rather than from the PIN pad. If a customer needs an emailed receipt, trigger it from the same POS screen.
- If the QD5 shows offline, check the interface cable and confirm the IP address still matches what your POS expects; a router reboot can change it. If PIN entry or tap fails, restart the QD5 and re-run the parameter check. Still stuck? Local support means you reach a real person who knows Puerto Rico merchants, not an overseas queue.
Want the full specs and pricing before you set up? See the Dejavoo QD5 PIN pad page, or browse every manual and how-to in our Dejavoo support and manuals library for your Puerto Rico business.